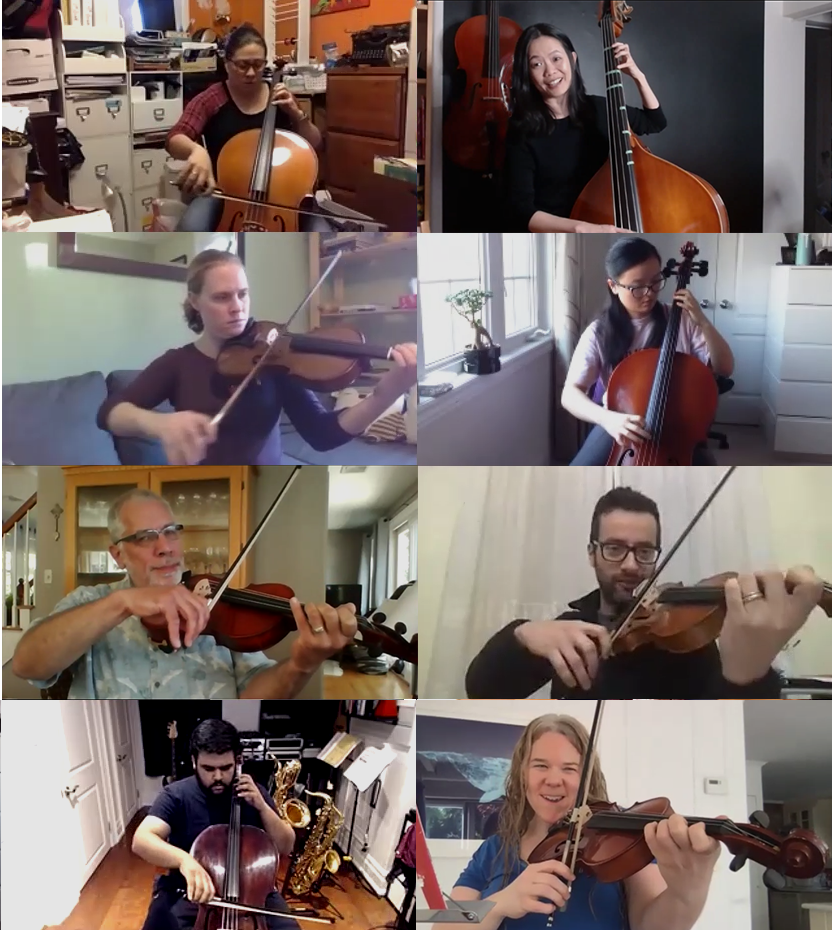
This is a follow-up to my post and video, Make a Virtual Orchestra Video in 3 Easy Steps. Yes, I know we are all finally done all our videos, and we never want to mix another audio file ever again! But since I am in the process of editing my last one, I thought I’d better write down all my tips before I forget them, in case we ever have to make (please, no!) more of them.
1. Let go of perfection.
First of all, my objective when mixing is not to create the perfect performance, because that would be inauthentic. However, the way an audience perceives a live performance versus an audio recording is very different. In a live performance, the audience’s perception is distracted by all that is going on, looking for their child, watching the kids, the conductor, etc. They perceive the performance as a whole experience, and they don’t catch as many errors as they would when listening to just audio.
On an audio recording however, errors are really obvious. So, my objective is to edit all the things that most people would notice on a recording vs. live – really wrong notes, rhythm, etc. But I’m not going to micro-tune everything, or edit minor mistakes that parents will probably never notice.
2. Start off the year with easy projects.
Since it won’t be until next school year when you use these tips, this one was really key in making it easier for my students to be successful when it came time to record their virtual concert pieces. Recording is not easy!
Train students step-by-step to use the software. First, have them learn to follow the metronome and get to know the basics of the recording software through easy assignments like rhythm clapping and counting exercises. Next, graduate to recording scales, then simple pieces and duets, etc.
The more smaller, successful experiences they have before they have to record an entire piece the better.
3. Record each section in ONE file.

Have all the 1st violins record their tracks in the same file, all the 2nds in their own file, etc. This has a lot of advantages including:
- Your section leader can record the first track for everyone else to follow, so you don’t have to do it. (If their part has a lot of rests, you may also need to add the track of one of the other instruments as well to help them know where they are.)
- The other students can use that track as a model for rhythm, intonation, etc., so if they can’t play the entire piece on their own, they have someone to follow.
- The section leader can also model dynamics, articulation, the lengths and ends of notes – especially the last note, etc.
- The students can help each other if you put them in breakout rooms to work together.
- They can help do simple edits so you don’t have to do them later.
- You only have 5 files to open and mix, instead of an entire class of individual files.
- You only have 5 files to combine into the final mix, instead of an entire class of individual files.
- You save time mixing because when you hear all the tracks of one section together, you are less likely to waste time doing unnecessary micro-edits to individual tracks.
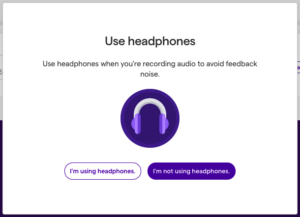
4. Skip the “I’m using headphones” option in Soundtrap

Even if the students ARE using headphones, they should skip this option. What it does is turn on the monitor function, which plays back what they are recording creating an annoying echo. Skipping this option keeps the monitor off.
5. Make sure students try different microphones.
This is especially important for bass players, as the mics on your typical earbuds or webcam, which are optimized for the talking voice, may not be very good at picking up the low end.
If anyone is having issues with sound quality, get them to try different earbuds or headsets they have around the house.
6. Make sure the students are properly distanced from the mic.
If they are too soft, they may not realize that mics only have a very limited range, and they need to get closer.
If the sound is too loud or distorted, then they need more distance from their mic, especially the large instruments like cello and bass.
They can also fiddle with the mic sensitivity settings in the audio software, or on their computer.
7. Turn reverb off.
Have the students turn the reverb down before recording. You want to be able to hear everyone’s original sound while mixing, and then add reverb at the end to enhance the performance.
8. Duplicate tracks that are too soft.

If a student’s track is too soft, and turning up the volume on their track is not enough, just duplicate the track. You may need to double or triple it.
If afterwards, there are areas where the track then becomes too loud, just isolate that section in one of the tracks with splits and mute it or delete it.
9. Editing wrong notes or notes out of tune

You can try fixing an out of tune note by first isolating it with splits and using the auto-tune function. But because of the nature of stringed instruments, it usually results in some obvious distortion in the sound.
Instead, isolate the wrong note and mute it. If you can’t tell that it’s missing, you are done.
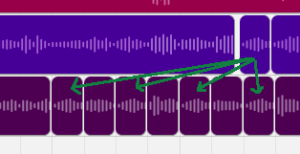
But if you can tell, then replace the note with a copy of the right note either from somewhere else in the student’s own track, or from someone else’s track. If you are using a note from someone else’s track, try not to use the exact same note in the same place as doubling it may make that note stick out.
You can also use this trick to fix short passages.
10. Keep the video simple.
This is not really an audio tip, but just the same. You don’t have to make a virtual orchestra video for every single piece, because that takes a lot of time and work. And they’ll all end up looking more or less the same anyway. So just do one or two featuring the students playing. The rest, just fill in with class pictures or photos that fit the theme of the piece, etc. You can even have the students make the videos for you!
Finally, what to do if a student is really off?
I’m afraid I don’t have any miracles for that except to mute them….
Hope these help you the next time you need to mix audio for your students. If you have more tips, please share them in the comments below!


Videos porno portugues
Sexo portugues
melhor pornografia portugues da net